I used strip lashes for a long time. I was never happy with my natural lashes after merely applying mascara. Unsurprisingly, putting on and taking off strip lashes every day started bugging me. That’s why I decided to test new lash clusters – DIY Eyelash Extensions from Nanolash!

These are DIY cluster lash extensions whose producer promises we can wear them for five days and they stay untouched. This made me buy my first box of DIY lash clusters. In the case there are 36 lash bundles which – according to product details – should be enough for 4 applications. Keep reading for the results of my test!
DIY Eyelash Extensions from Nanolash. First application of premade cluster lashes
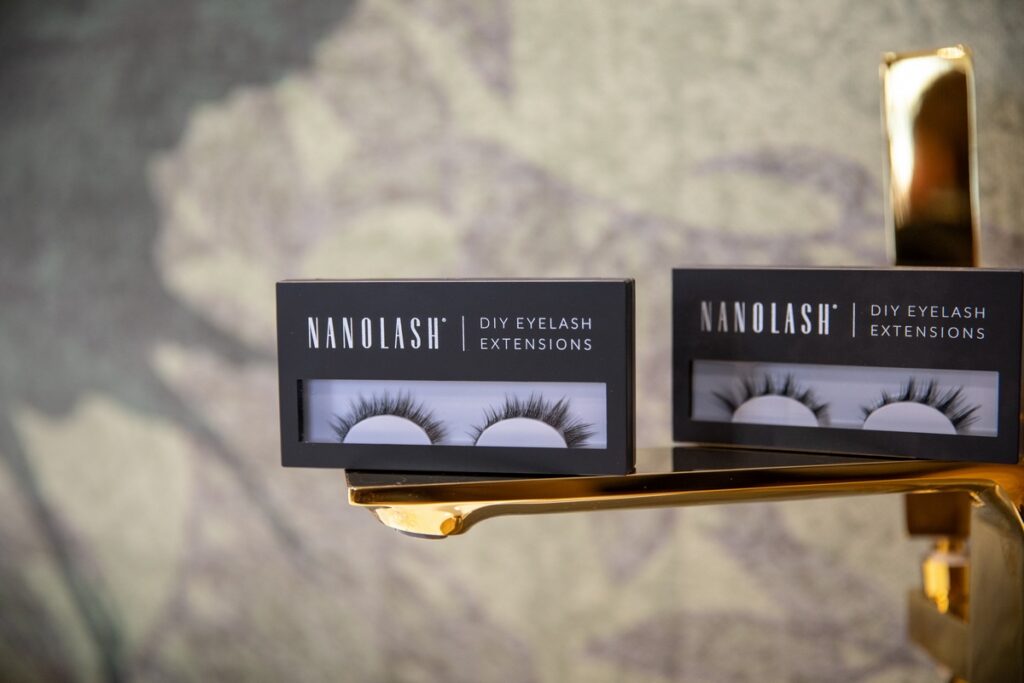
The box contains premade cluster lash extensions. I picked one of the eight styles available at the Nanolash store. I got lashes in three lengths: 10 mm, 12 mm, 14 mm.
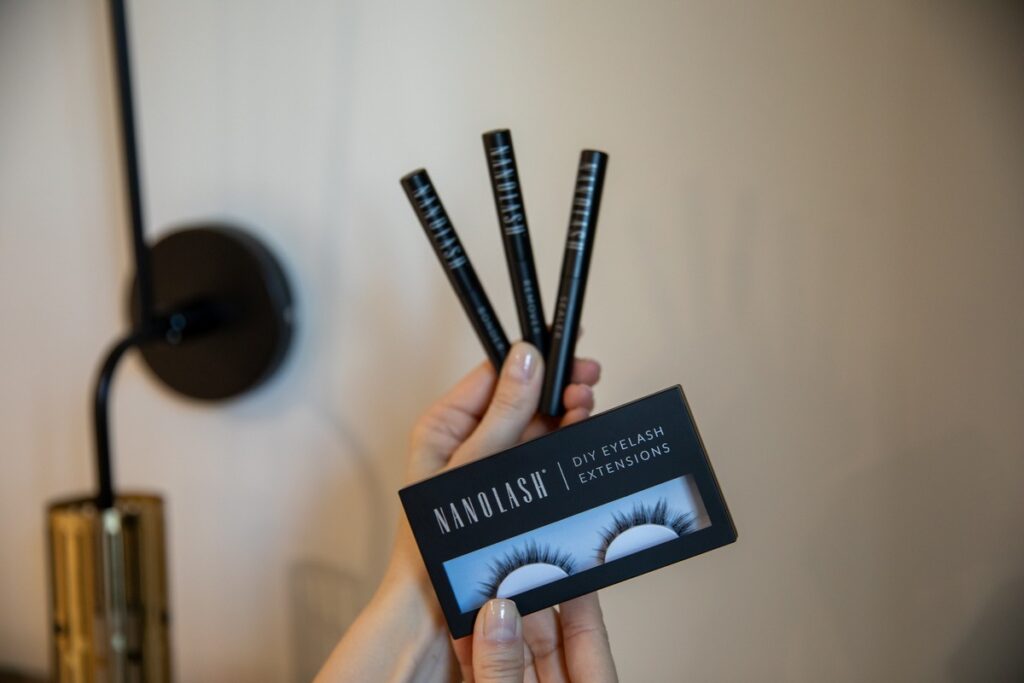
I also spotted the brand offers a full cluster lashes kit including the Nanolash sealer, bonder, stainless steel applicator and remover.
After unboxing, I was pleasantly surprised by how soft and light-feeling the DIY cluster lashes were. They had a natural curl, and a flexible, black band. That’s the greatest thing for me – the band allows me to adjust the clusters easily, plus it blends seamlessly with the lash line.

First DIY cluster lashes application – Impressions after putting on Nanolash DIY Eyelash Extensions
To learn how to apply eyelash extensions at home, I looked into the product directions for use which proved extremely helpful. I got to work right away. That’s exactly how I applied my new lash wisps:
- I applied a thin coat of glue on the lashes.
- I picked up a cluster with the tweezers and placed it under my natural lashes, around one millimeter from the eyelash line.
- I pressed the cluster – just to make sure it stays put!
To be honest, these were the easiest-to-apply false lash extensions I tested so far. According to the product description, we can put on the lashes within only 10 minutes. I confirm it is true – I was a complete beginner but had no problems applying these lash clusters.

DIY eyelash extensions – how long did I wear them?
Let’s refer to the producer’s promises again – I read they claim we can wear the cluster lash extensions for even 5 days. When I bought them, I was right before my seven-day business trip. I took a risk and applied the lash extensions on the day before setting off.
Through the days I remembered about aftercare; I removed my makeup precisely yet gently, and brushed through the lashes. They still looked amazing when I came back home! I think sleeping on my back also helped make the lash extensions last longer.
All in all, these were the most durable cluster lash extensions I had tested (with great pleasure).
I reapplied the same cluster lashes. Did they look okay?
According to the manufacturer’s promises, the DIY Eyelash Extensions are single-use, but I figured – why not try reusing them? I took the lash clusters off, using the Nanolash remover which did away with the glue fast.
After removing the wisps, my natural eyelashes were in perfect condition. I got rid off the glue residue and took a closer look at the lash clusters:
- the individual lashes didn’t fall out or bend
- the flexible band wasn’t damaged
- the clusters kept their original shape
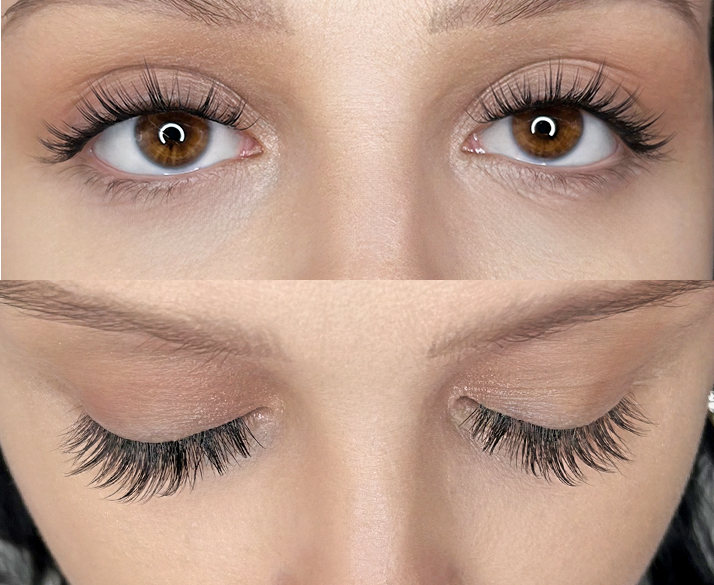
So I decided to put them back on and… they looked great! Just the way they looked when I applied them for the first time.
DIY eyelash extension with the cluster lashes Nanolash – review summary
I used to think that at-home lash extension was impossible. The DIY Eyelash Extensions proved me wrong! These are the best cluster lashes I’ve ever applied; it is rare to come across such long-lasting lash extensions.
If you’re also searching for easy-to-apply eyelash extensions, then I heartily recommend the premade cluster lashes from Nanolash. Just 10 minutes are enough to completely change the look!
